
251023 - What you see versus what I see
I studied photography for 2 years. I completed a Certificate IV in Photography & Digital Imaging in 2022 and then a Diploma of Photography & Digital Imaging in 2023, and was awarded the Student Excellence Award. It’s a fancy way of saying I completed all of my assignments on time, ha!
I wanted to study photography to get a better understanding of a) my camera, b) how to integrate that into my business and c) how to take better photos. In the first months of study you go through the history of photography, different types of photography, photography jargon such as aperture, depth of field etc., colour theory and framing.
Two things I use most from the initial study period is colour theory and framing. If you want to have some fun with colours and better understand which colours are complementary, split complementary, analogous, square, monochromatic etc. take a look at the Adobe Colour wheel: https://color.adobe.com/create/color-wheel Pick a colour and use the dropbox on the lefthand side of the screen to view your colour options. Note the US spelling of “color” when entering the web address.
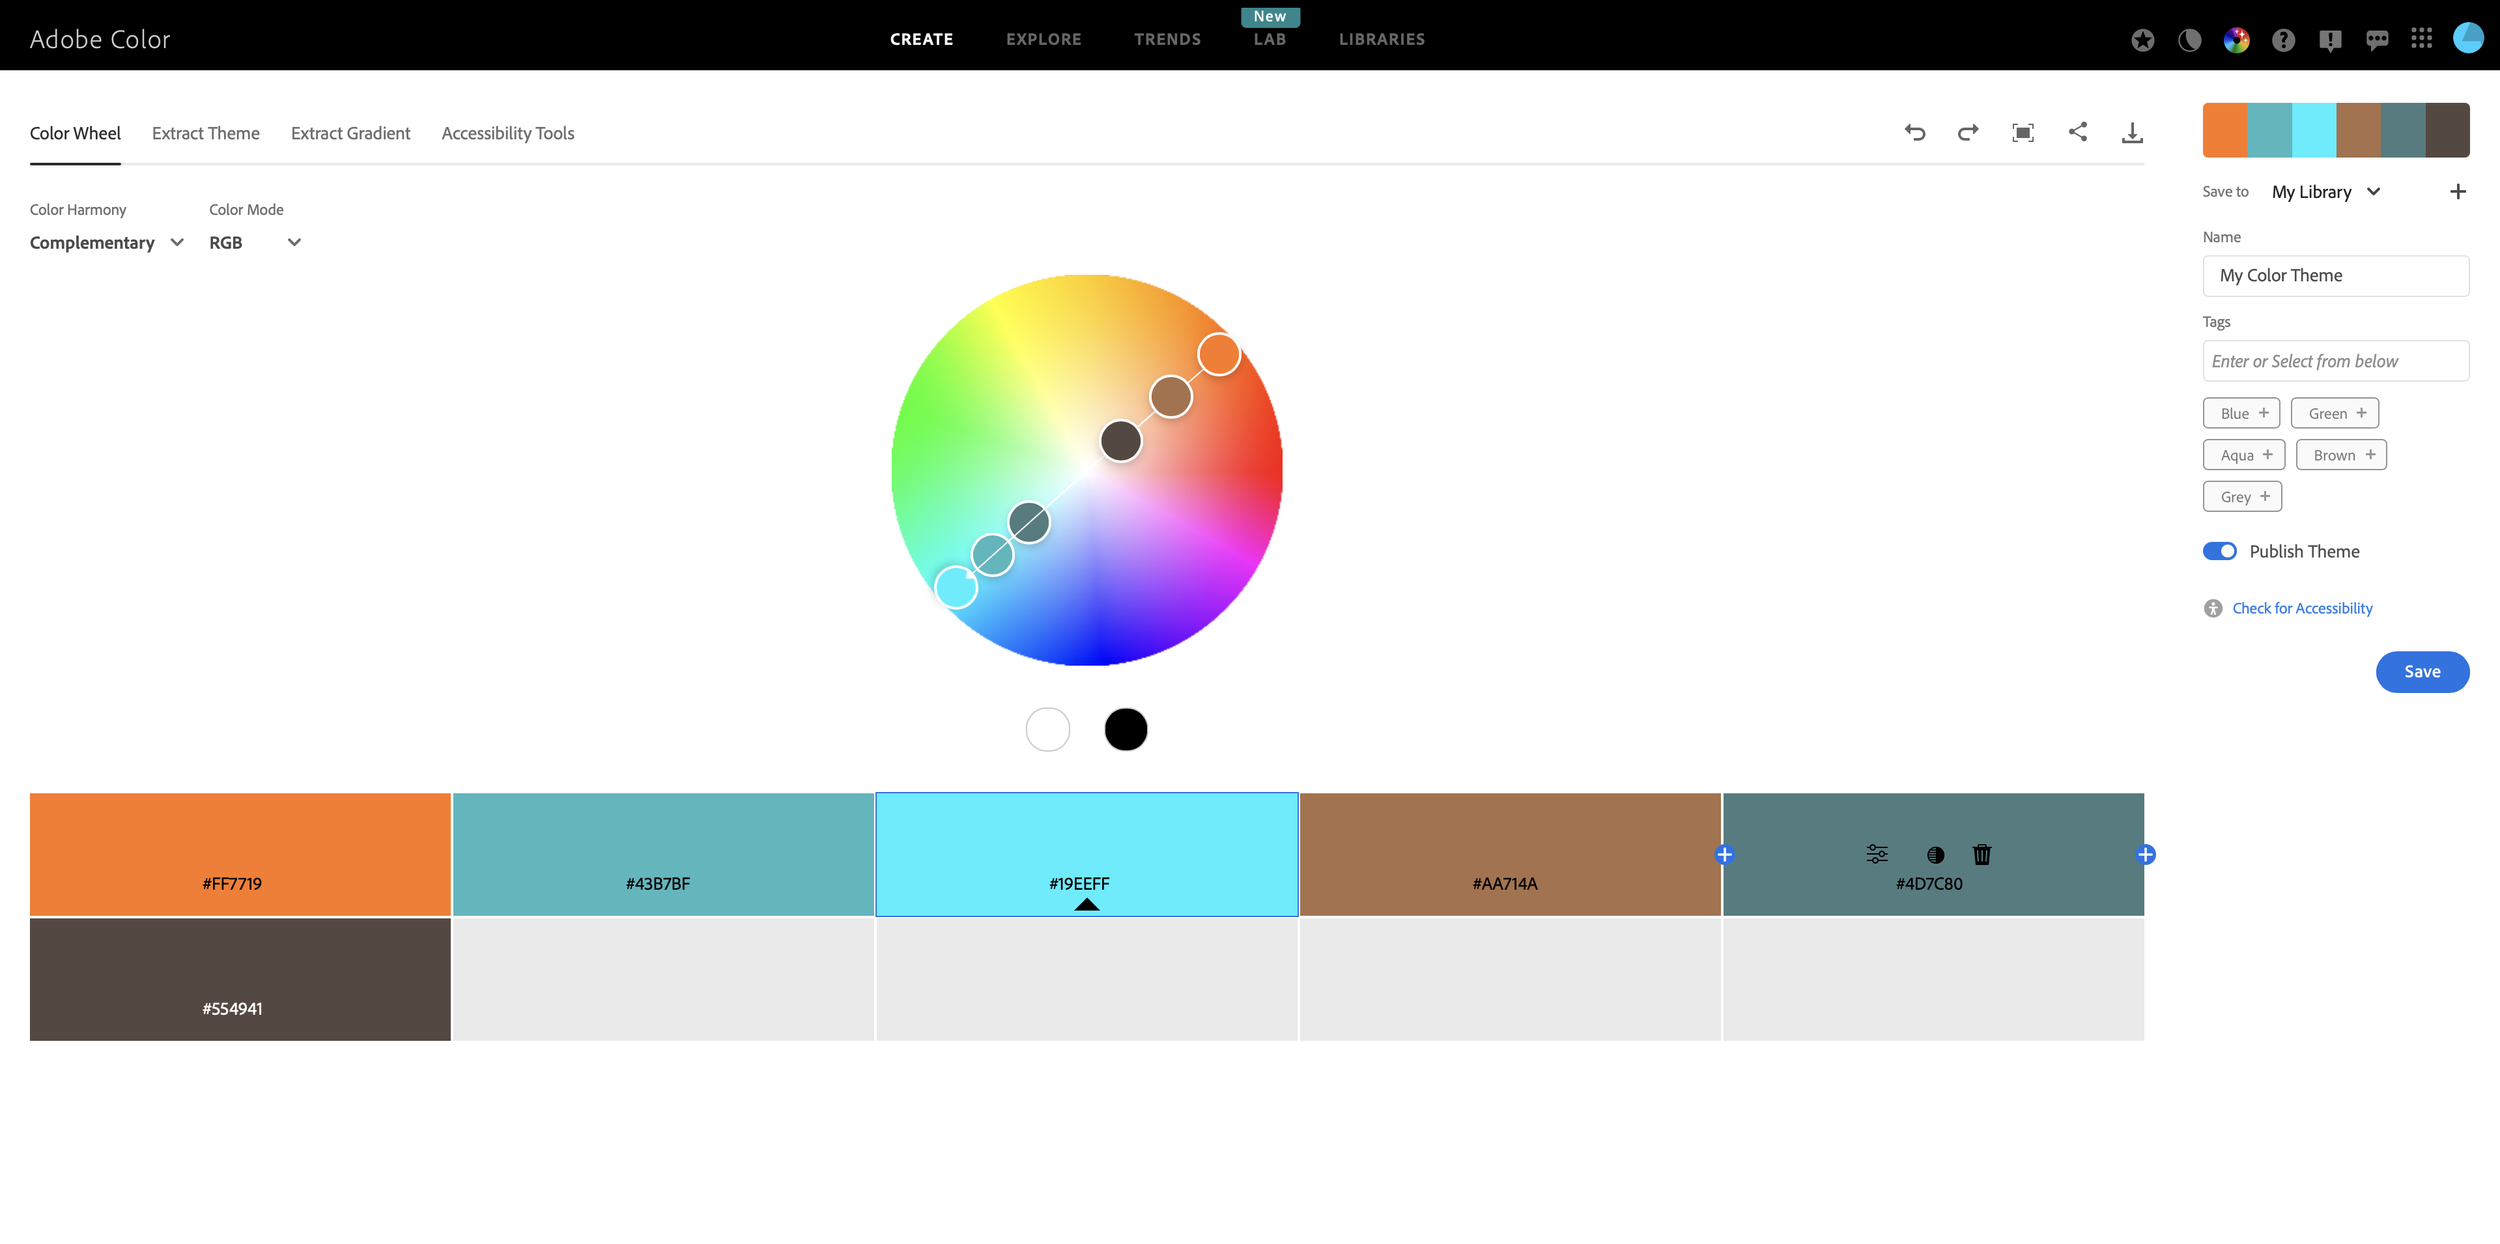
Credit: Adobe Color https://color.adobe.com/create/color-wheel
If you’re starting out in photography, I’d park the colour theory stuff and focus on your framing as it’s such an important part of photography and how you communicate your story to the viewer.
Framing is such an important part of telling a photographic story. It can influence not only what the viewer sees in the photo, but HOW they see it. It’s your way of communicating your photographic eye to the viewer. Additionally, it can add or subtract from a photo. I can’t tell you how many times I have seen someone’s Instagram story of a beautiful sunrise with a crooked horizon. It’s only a small thing, but such a big part of telling a photographic story.
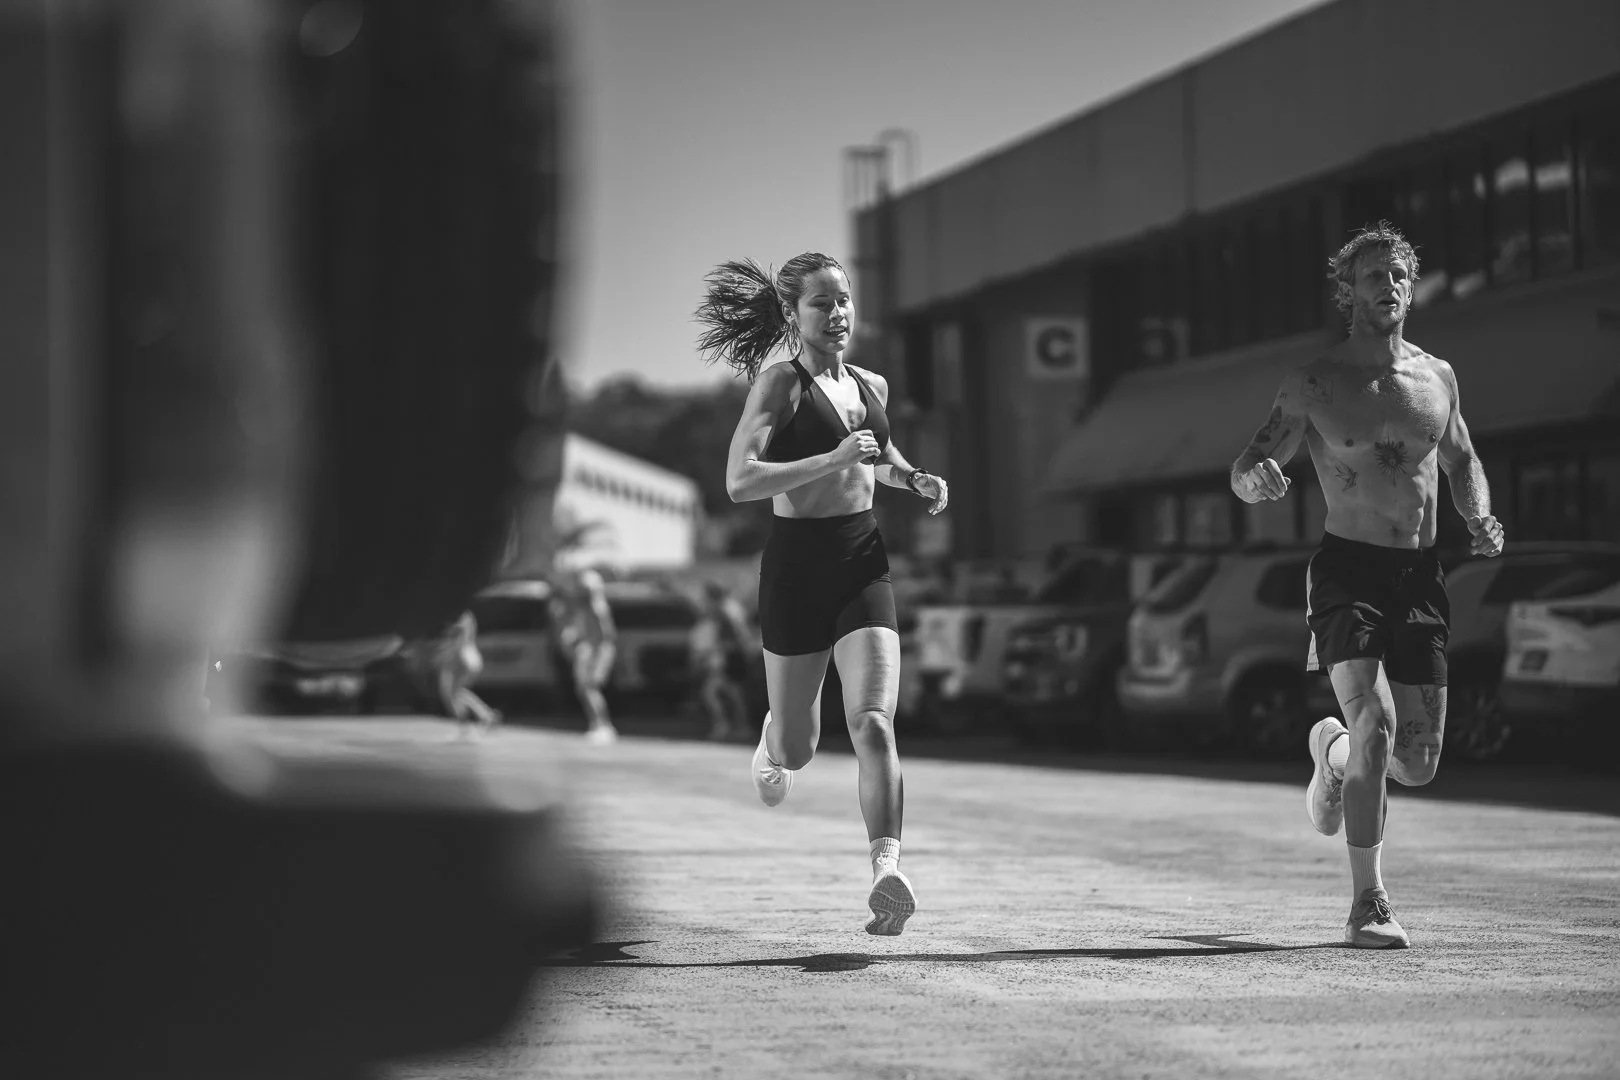
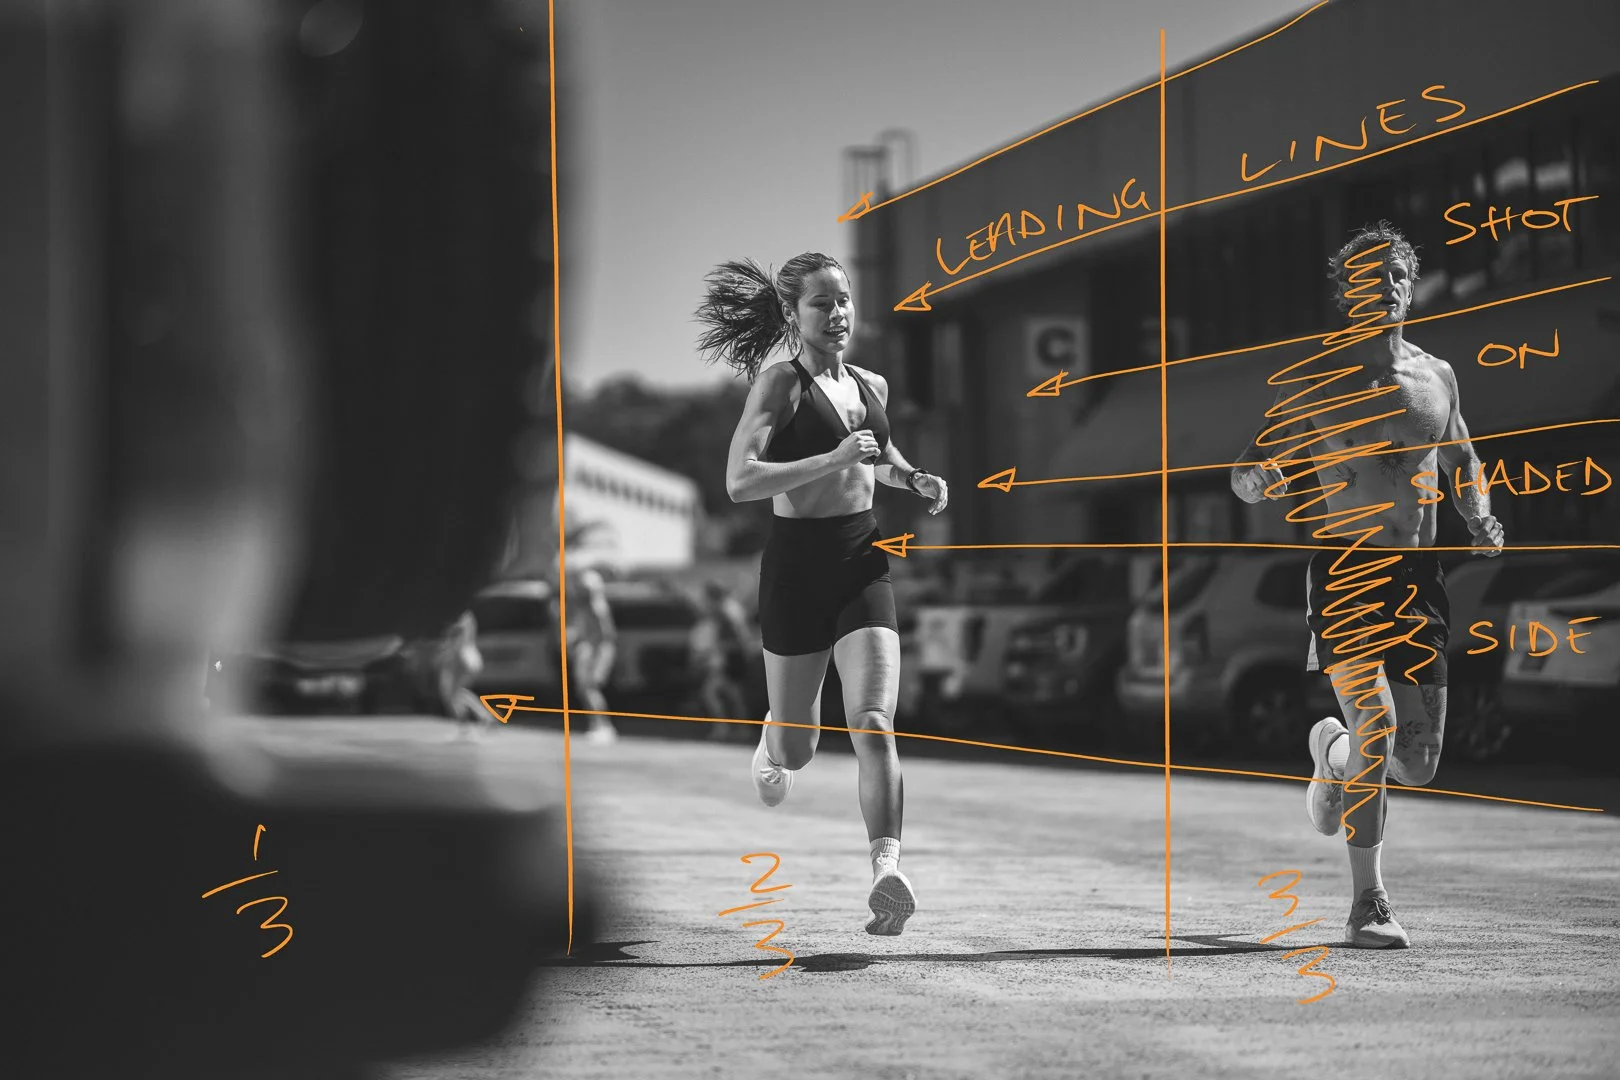
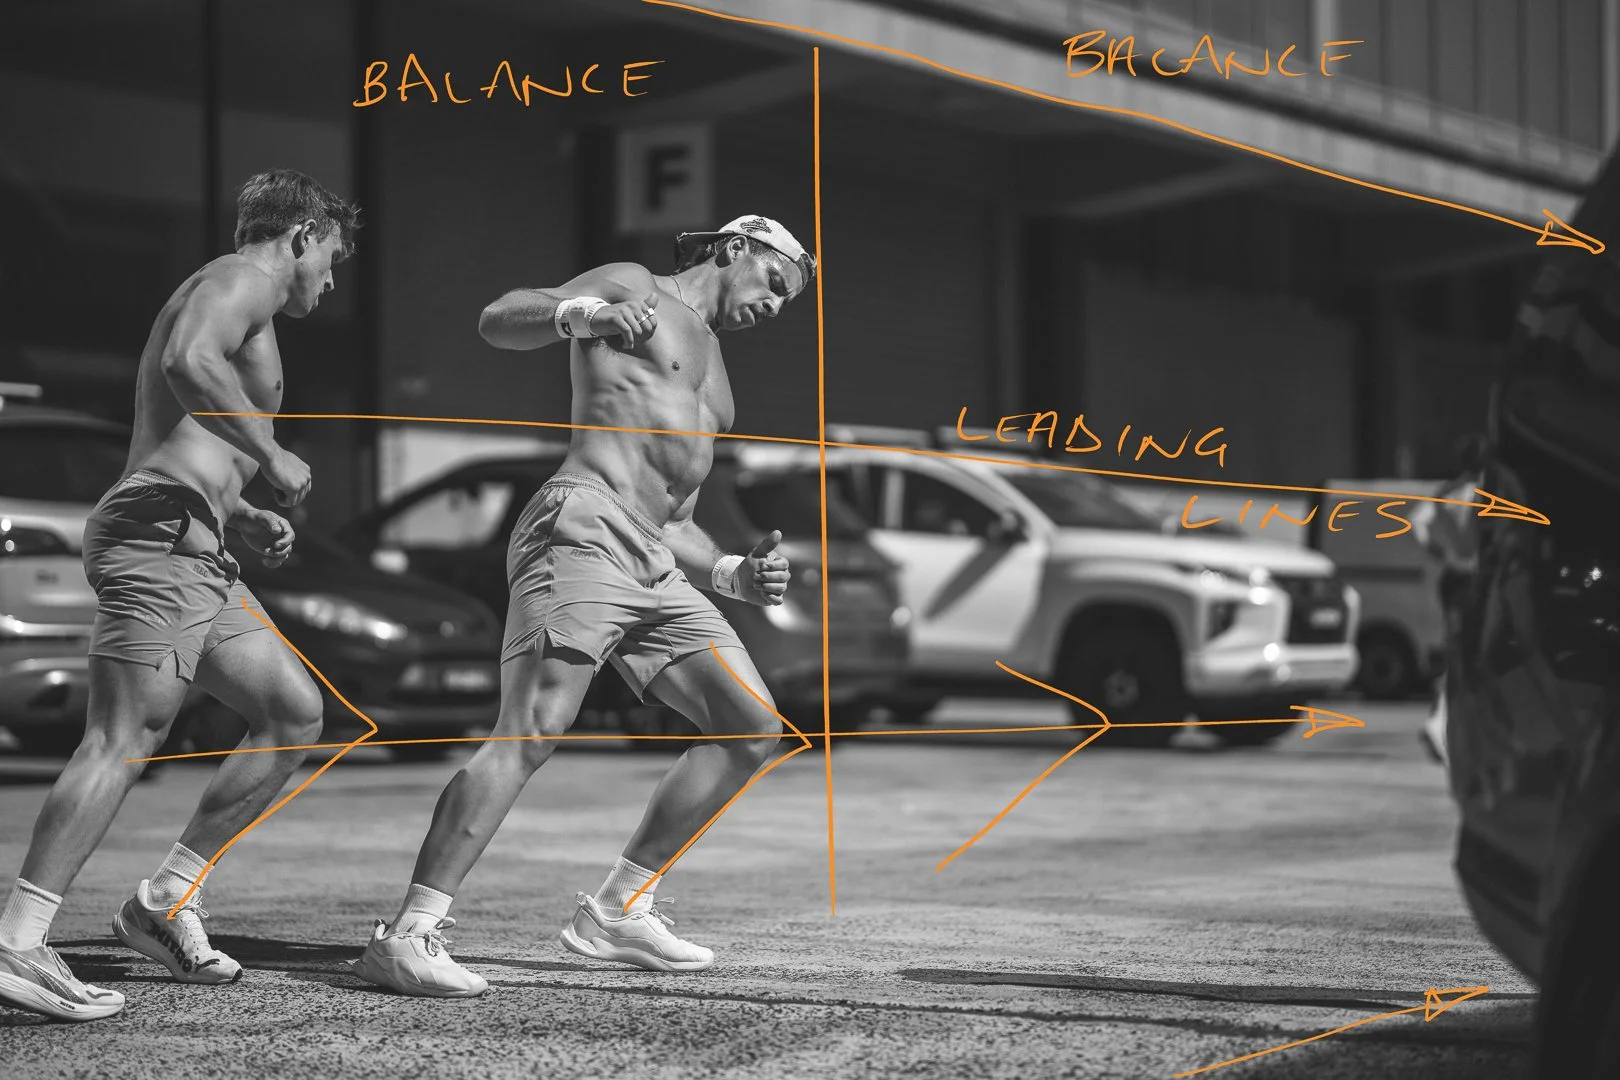
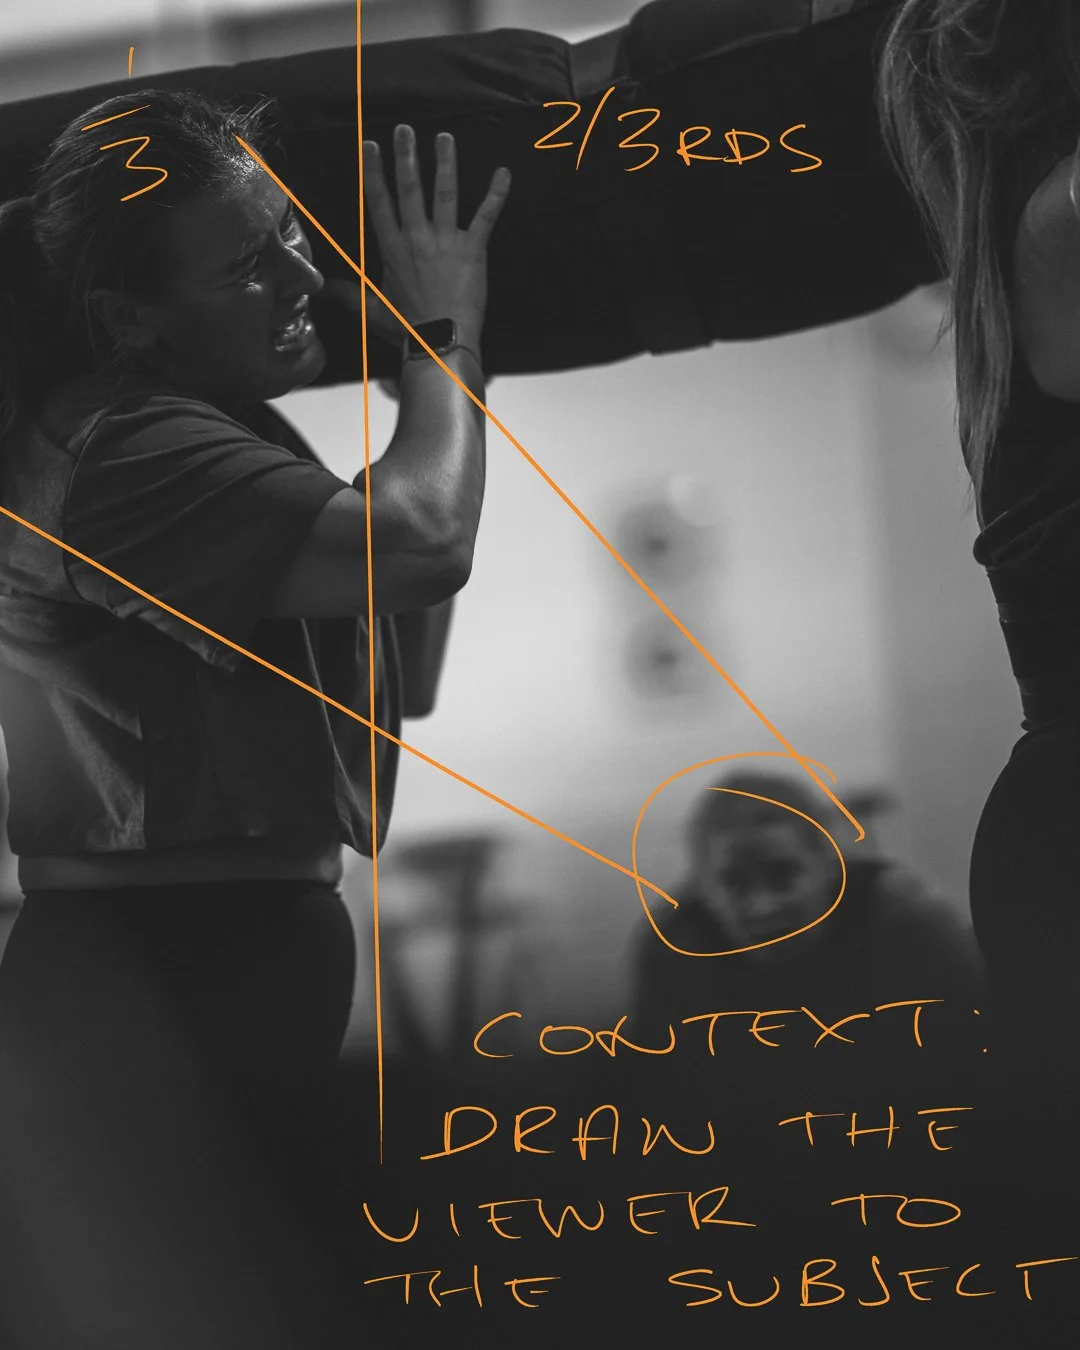
When I frame up a shot, I always default to my education but also allow myself to get creative. Combine framing styles and camera techniques to layer the story. Here’s an example with a breakdown to follow:


Techniques used in this photo:
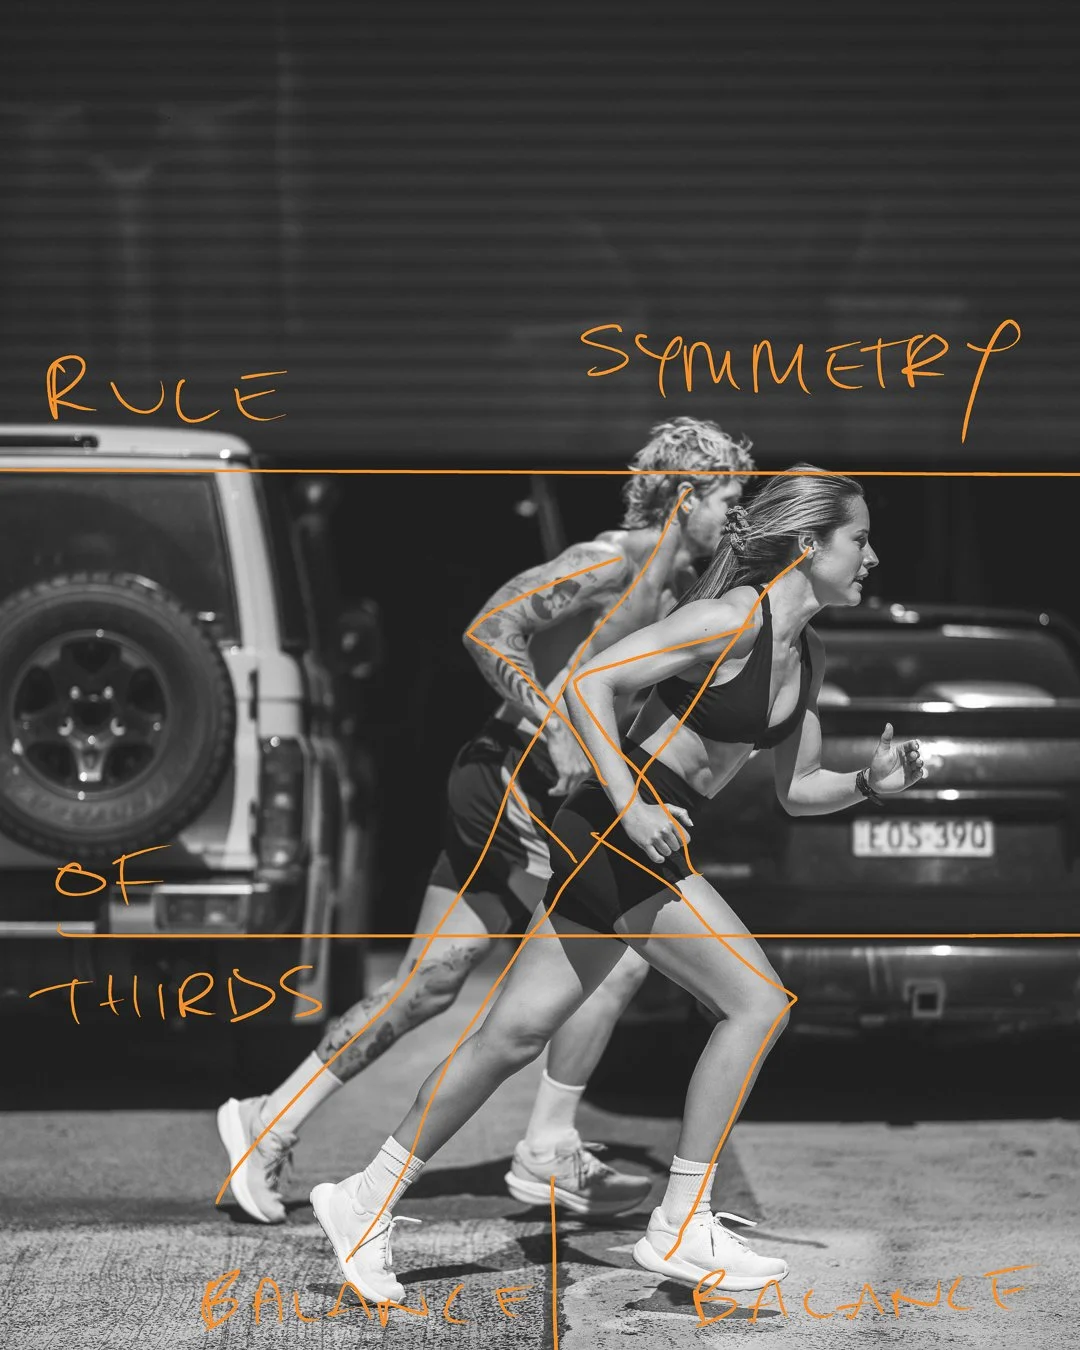
Symmetrical Framing.
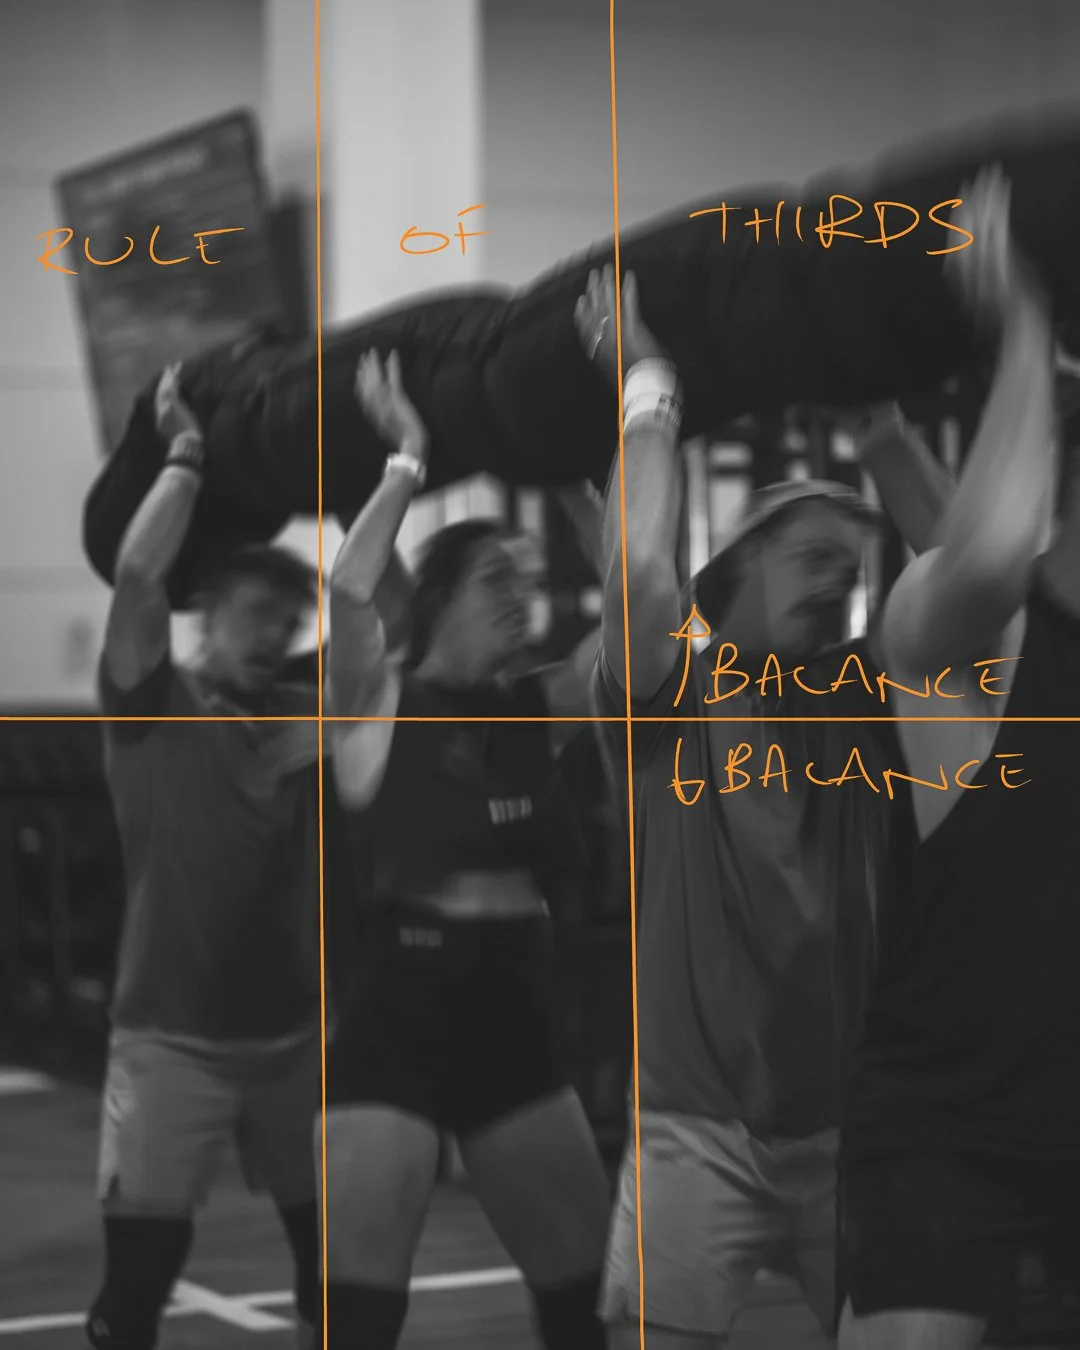
Balance.
Rule of Thirds. It’s not labelled on the photo, but the photo is framed 1/3 at the top when the horizontal bar goes across the photo, and 2/3rds below.
Fibonacci Sequence or “Golden Ratio”. I use this a lot for top/down product photography. Being honest, I didn’t take this photo thinking “I’m going to use the Fibonacci Sequence”. Rather, it was in post processing when reviewing framing adjustments that it was introduced.
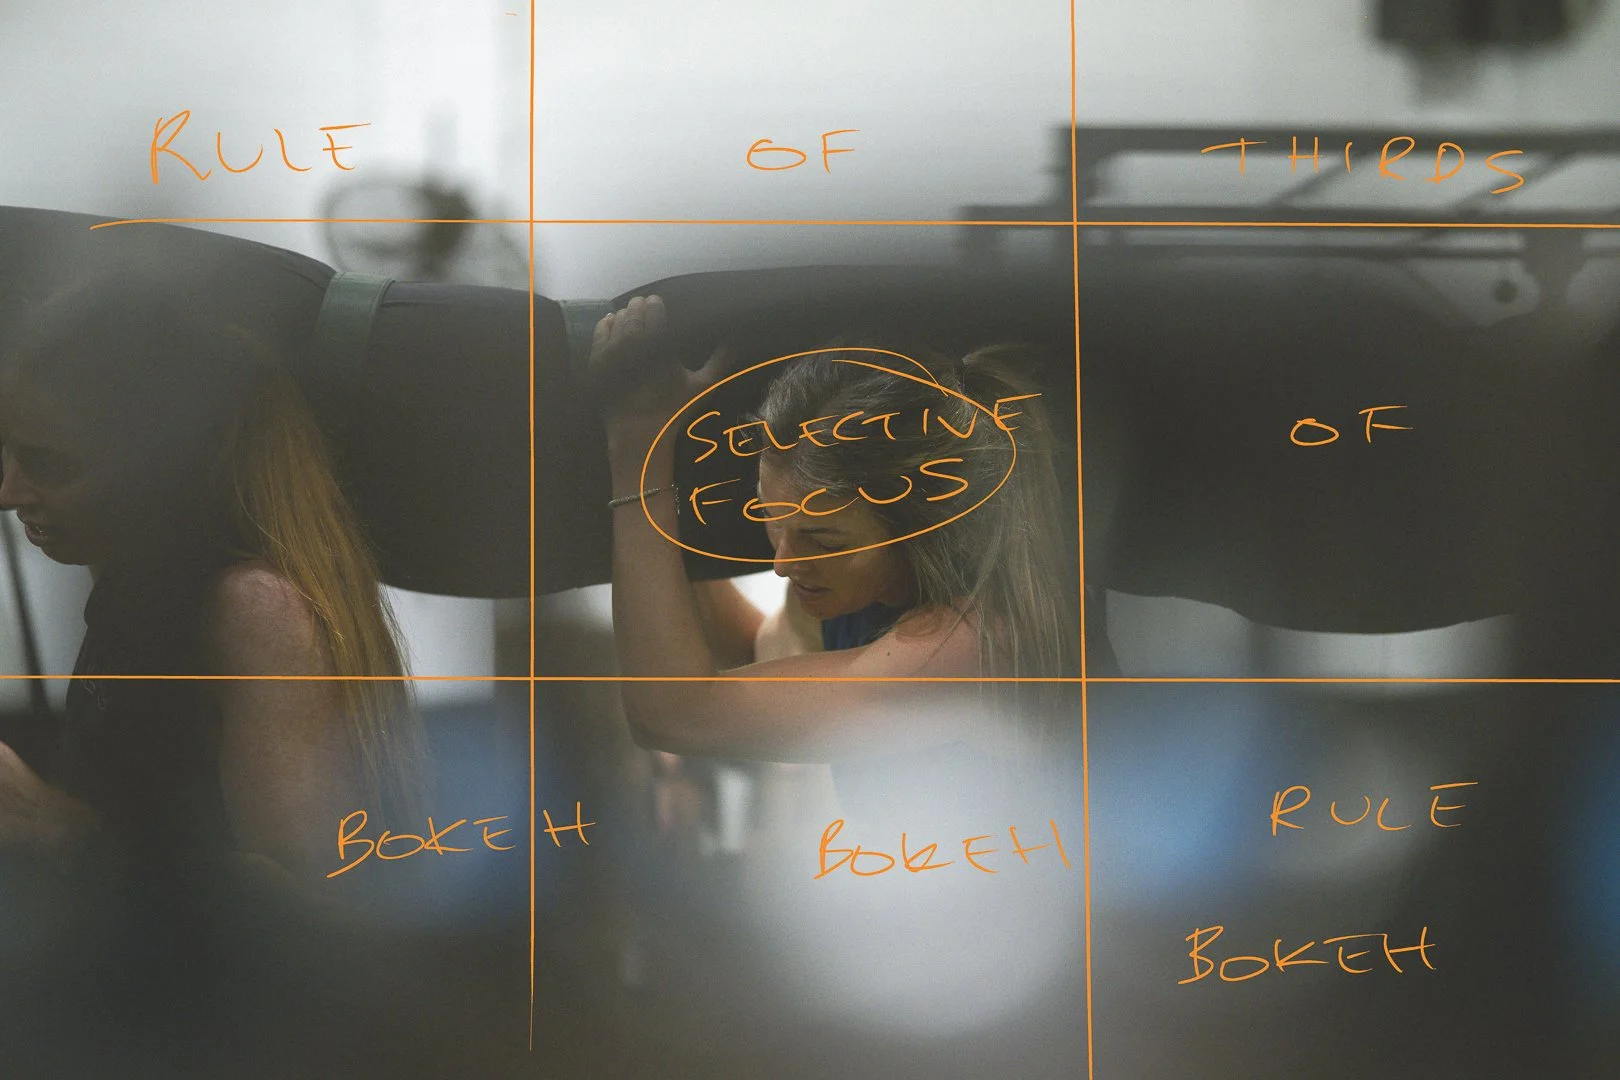
Other non-framing techniques used:
Shallow depth of field - focal on a subject with a wide open aperture to create that lovely blur in the foreground and background
Selective focus - select the subject and focus through or past something e.g. the vertical pull up rig.
Shooting on the shaded side of the subject
Motion Blur
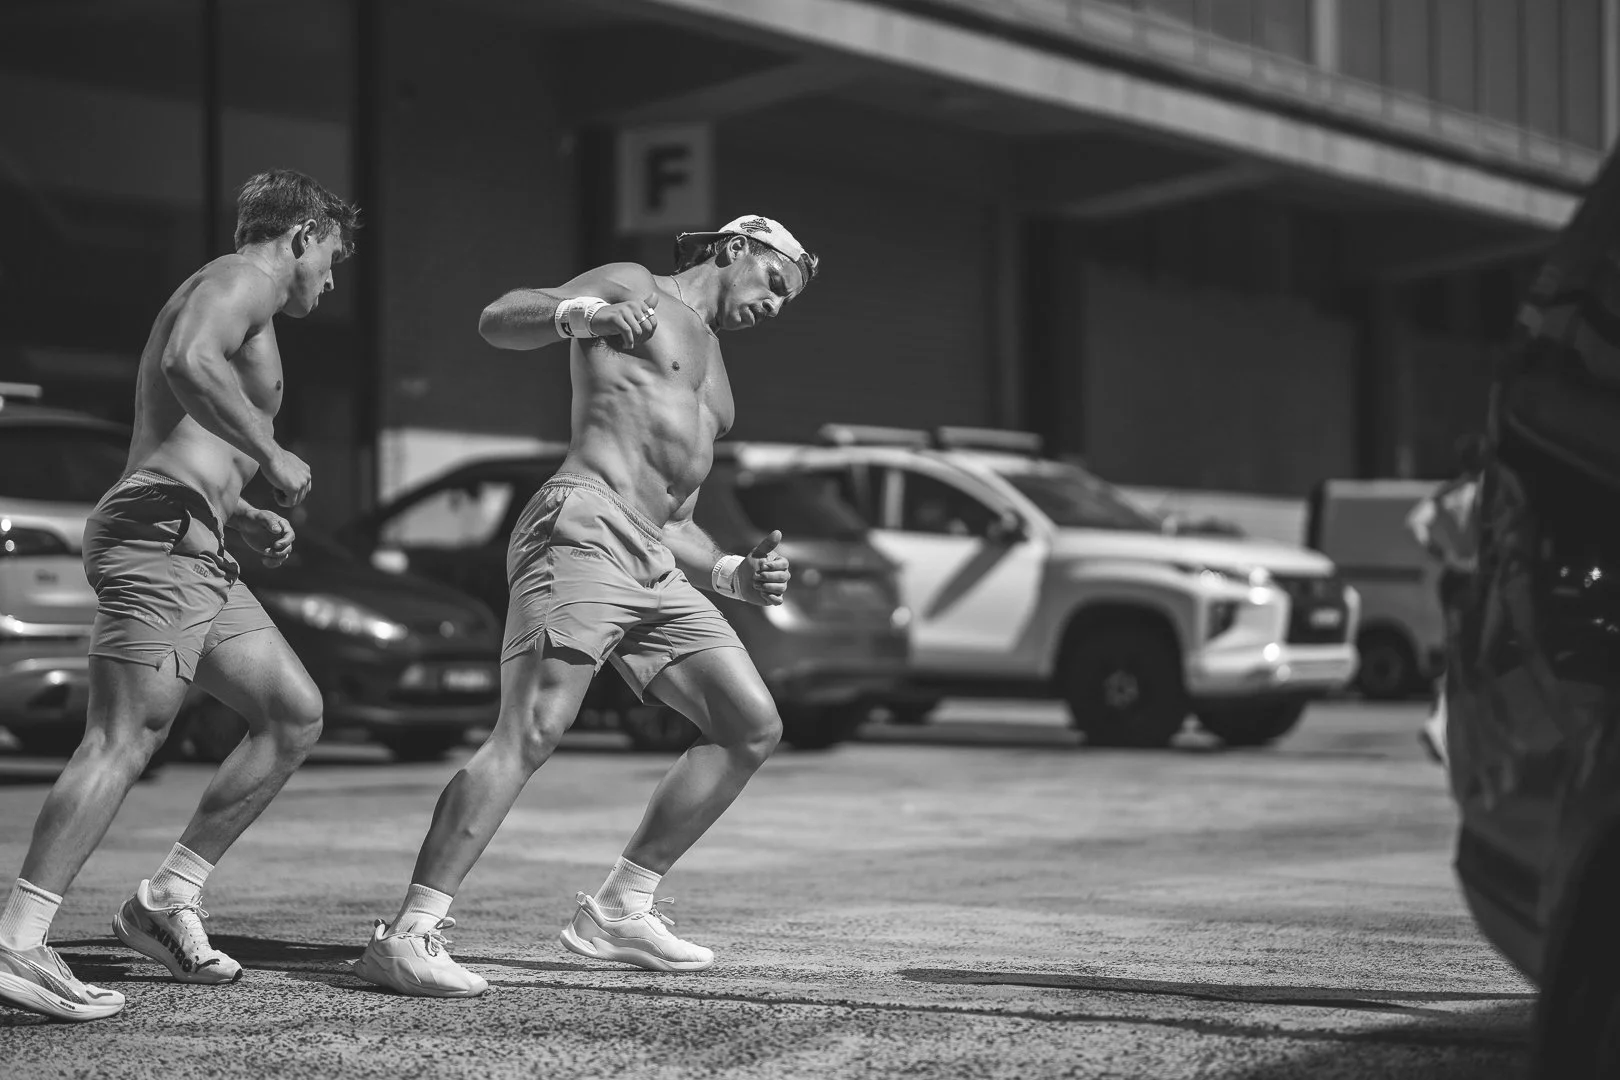
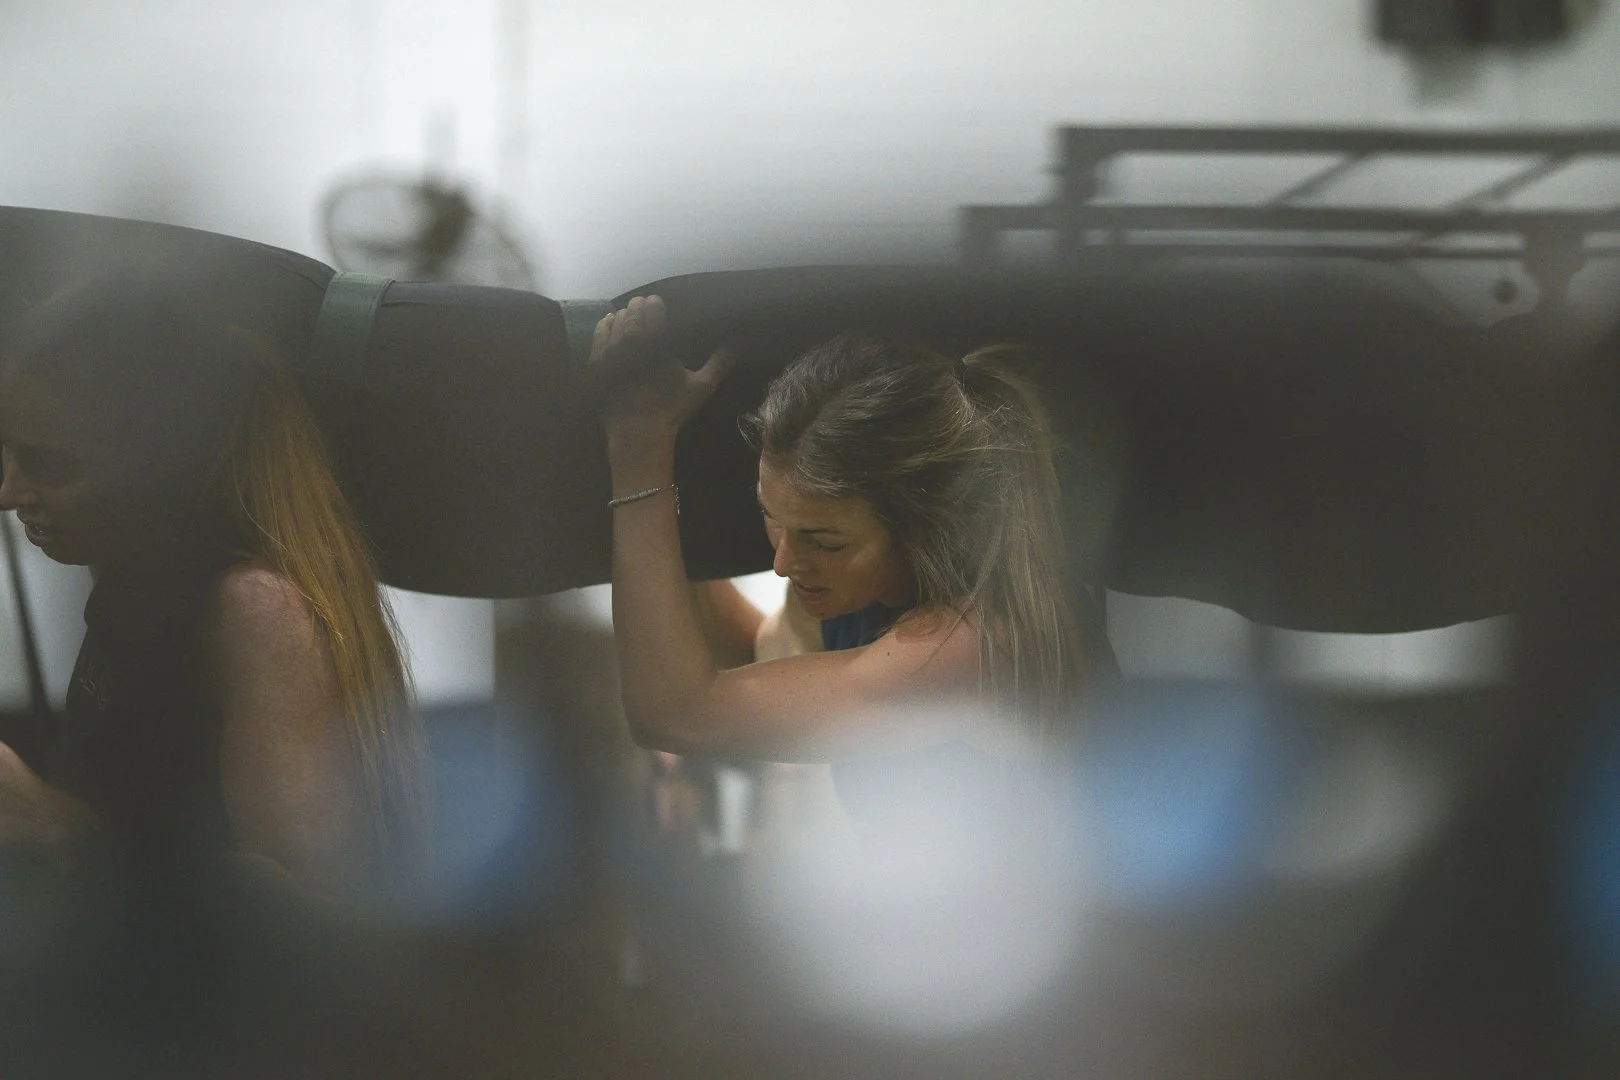
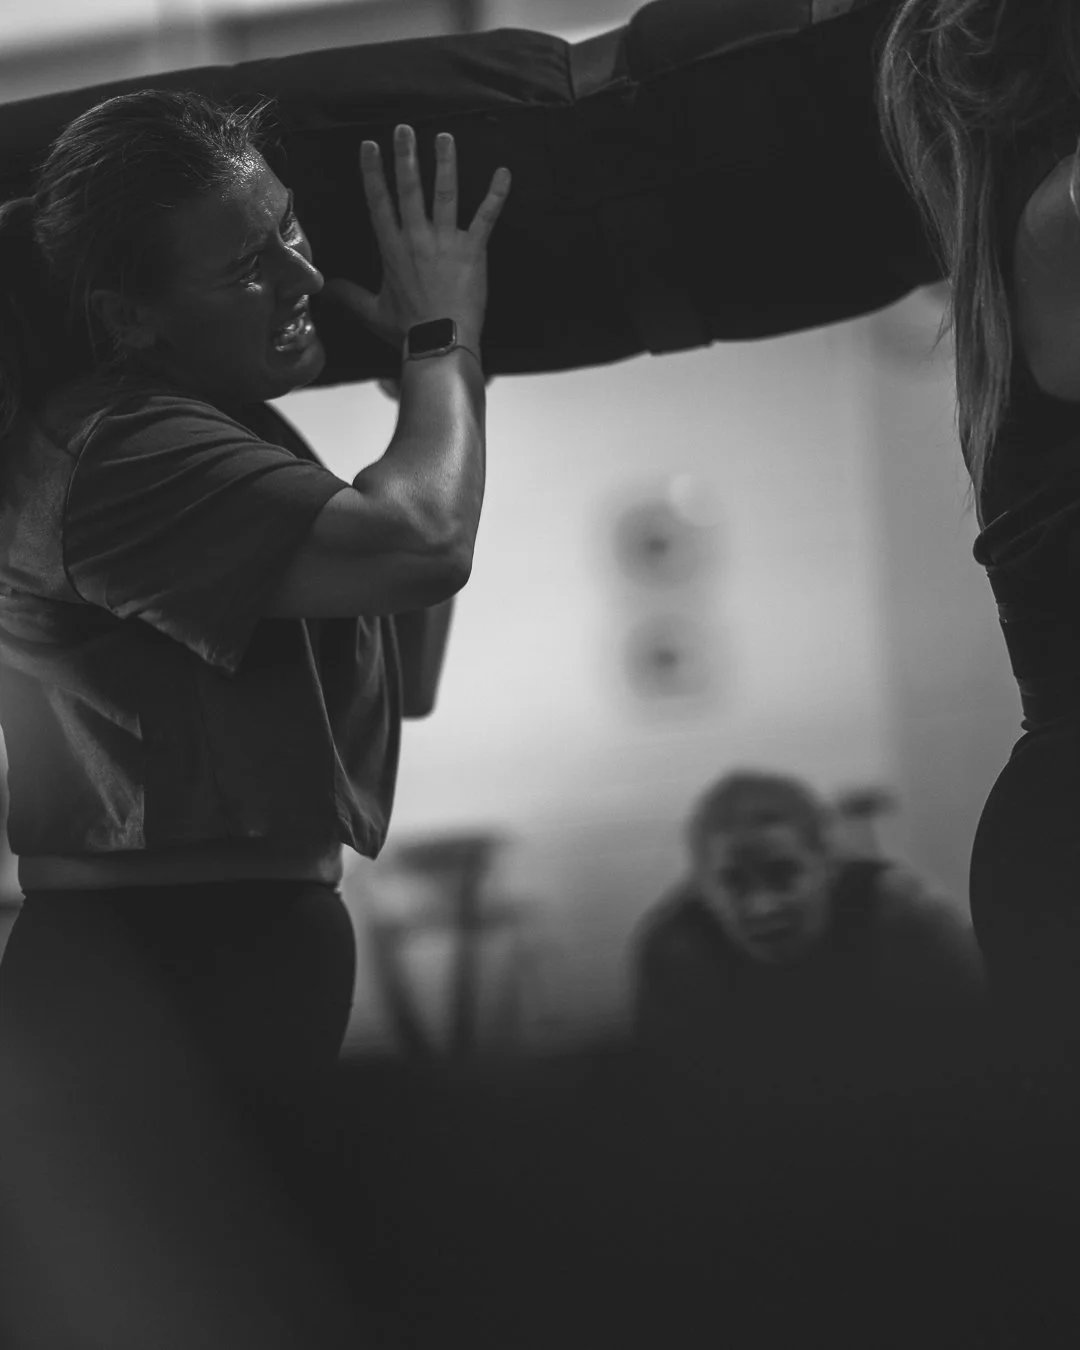
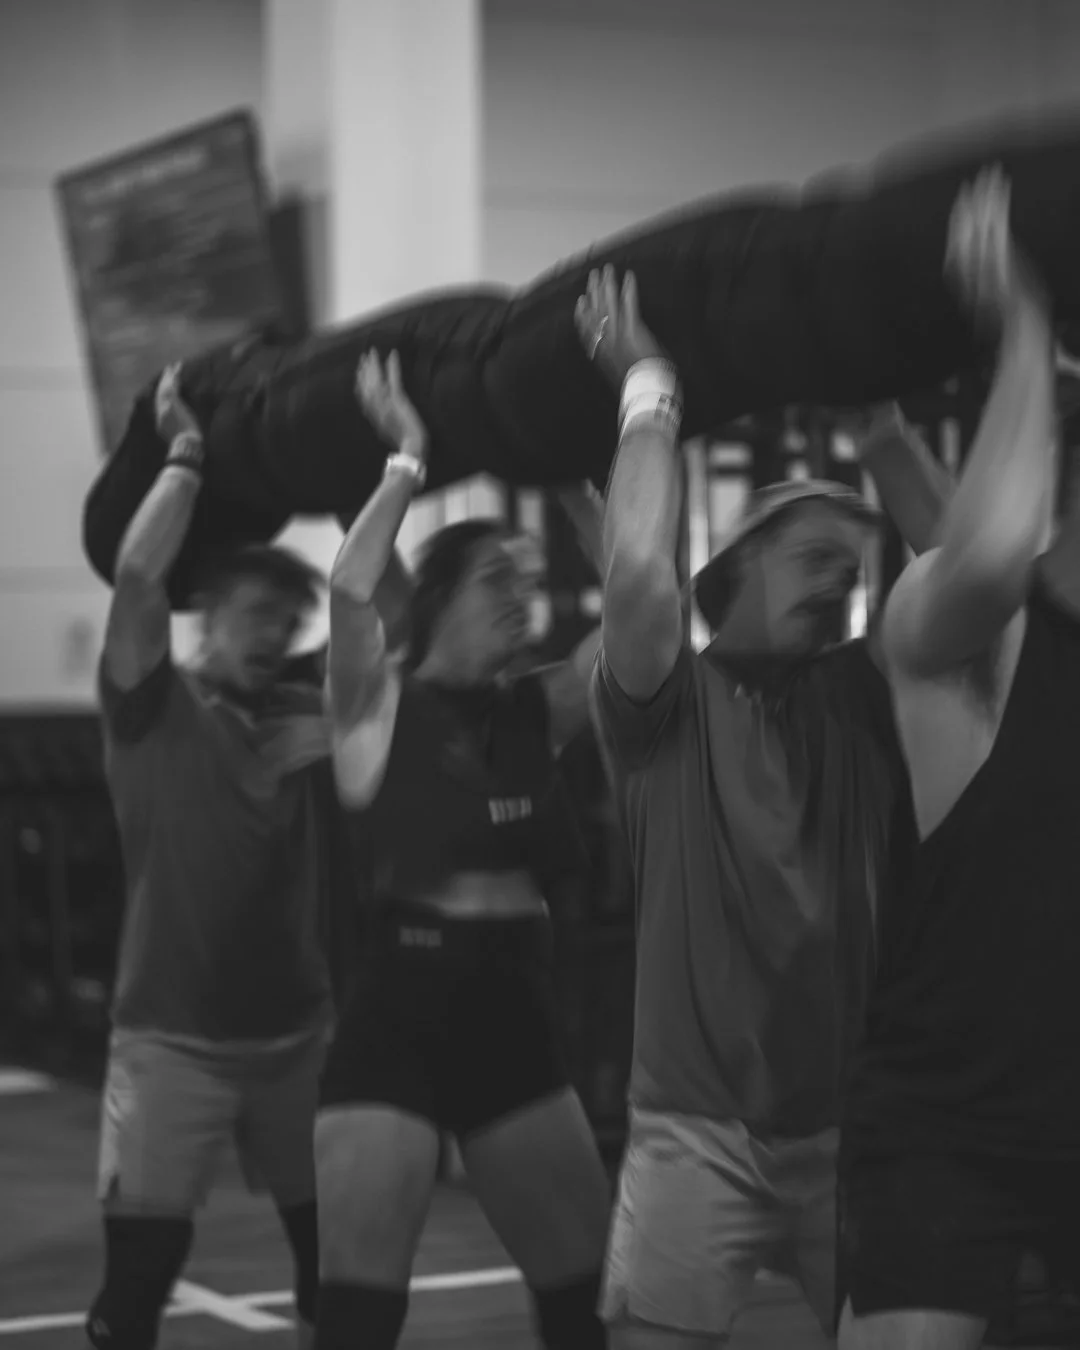
Here’s a few more visual examples:

I’ll be shooting at Battle of Benton https://www.instagram.com/battleofbenton/?hl=en 23rd November. I’m shooting freelance at the event and booking photography packages for athletes/brands competing at the event. I have 2 booked and will cap it around 5-6. Get in touch if you’re interested in a photography package.